
Spoon Carving Workshop
By Bjorn Jacobsen
Last weekend we had an enjoyable spoon carving workshop at the Creative Man Den, taking our time turning pieces of reclaimed timber into wooden spoons.
The small group discussed material selection and safe tool use, then started handcrafting their own, unique eating spoon.
Crafting something tangible with hand tools and patience can be a very rewarding experience, and at the end of the day each student left with a new skill as well as their unique spoon.
Each of our three students selected the added challenge of carving dry wood, deciding on pieces of birch for their first project.
More challenging than greenwood, birch is still not too hard to carve when dry and these pieces had some great character.
As I was helping with tips underway, I selected a softer “mystery wood” from our garden, a tight-grained yellow-white wood that carved really nicely.
After the briefing on safe tool use, each student made a spoon blank from their log using axes and cut-resistant gloves.
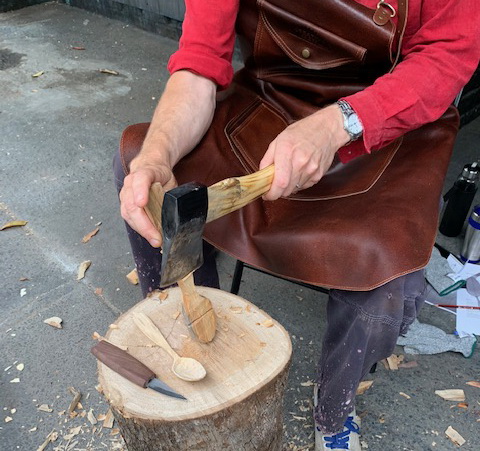
The aim was to get a fairly flat surface to draw the designs on. Because the aim of the workshop is to walk away with the skills and tools required for taking on bigger projects over time, we recommend using templates for your first several spoons rather than design from scratch. The templates we used were made by Tom Scandian, a passionate spoon-carver living in WA (Check out his youtube channel “Spoon Carving With Tom” here)Taking our time, we carved the blanks and drew on the templates. Then cutting stop cuts and carving to these before switching to the sloyd knife. This is a short, pointy knife used to clean up the profile of the spoon.
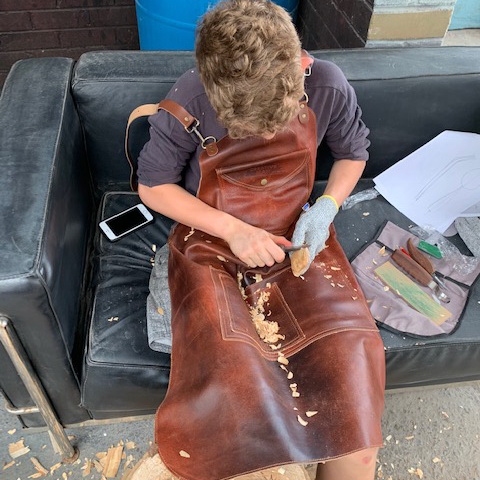
Even with fairly soft wood and sharp tools, this takes several hours of unhurried work. While working we discussed material choice, both David and Jo turned out to have really good knowledge about native Australian trees and shared stories and tips. Will talked about the new school he is about to join and it was very enjoyable being able to spend the day learning to know some new people while we each carved away at our project.
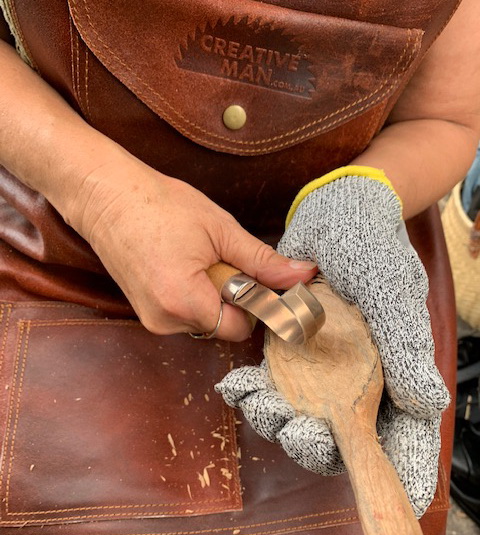
Using the hook knife to hollow out the bowl is the hardest bit, effort wise. Using the cut-resistant gloves is a great idea, holding the spoon in your non-dominant hand and helping push the hook knife with the fingers of this hand helps, but it still took some effort in the dry birch. Starting at the spoon’s deepest point, we made a hollow in the middle and then expanded this towards the edges.
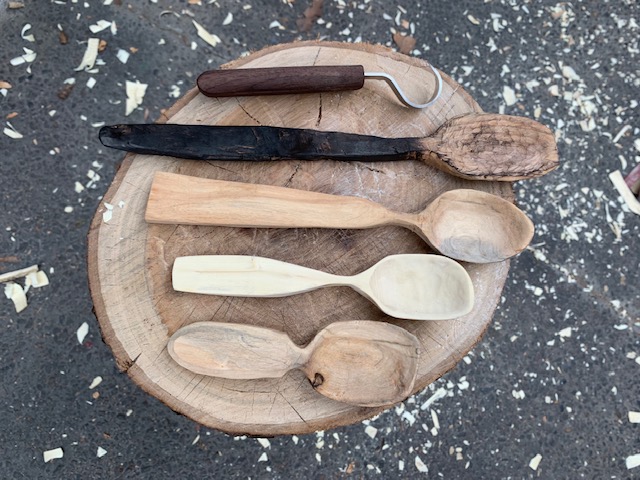
At the end of the day we all had a spoon we could be proud of, the students were happy to have learned some new skills and being able to bring the tools home for the next project.
The workshop includes the use on the day of leather aprons, cut-resistant gloves as well as axe and saw. In addition each student leaves with the spoon carving knives they used on the day, including a leather strop and rouge for keeping the knives nice and sharp.
Part of the charm of spoon carving is that no previous experience is required, and the few tools needed. It is an easy skill to learn to a point where you can make a passable spoon, and an easy hobby to bring camping or when spending time outdoors. You will not be an expert in a day but then again that is true of most things worth learning in life, isn’t it?
Recent Posts
-

Why Bed The Tang In Epoxy - Then Knock it OFF Again.
What is "Bedding the tang"? Bedding the tang means gluing a stick-tang blade into the handle block i …21st Mar 2025 -

Marble Leather - How to Dip Dye Veg Tanned Leather
This was my first experiment with hydrodipping or dip dying leather, and it came out pretty cool! I …14th Mar 2025 -

Make Burl Wood POP!
Staining wood with leather dye. or "How to make burl wood really pop". This technique really only wo …8th Mar 2025